


1 . 搭建环境前的准备工作
下载并安装以下工具
- 下载并安装 VS2010+VS2010 SP1
- 下载并安装 msys2-x86_64-20190524
- 下载并安装 ActicePerl-5.24.2.2403-MSWin32-x64-403863.exe
- 下载并安装 Mercurial-5.1.2-x64
- 下载并安装 sed-4.2.1-setup
- 下载并安装 zlib-1.2.11.tar pcre-8.43.tar openssl-1.1.1d.tar(注意:这个版本要一样,不然会发生莫名奇妙的错误
并把以上工具加入本地环境变量中
2.获取nginx源码
打开cmd命令,切换到Mercurial安装根目录,执行命令:
hg clone http://hg.nginx.org/nginx

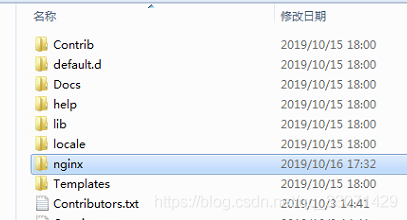
下载功后会在Mercurial安装目录下,创建nginx源代码文件夹。
3、添加依赖资源包:
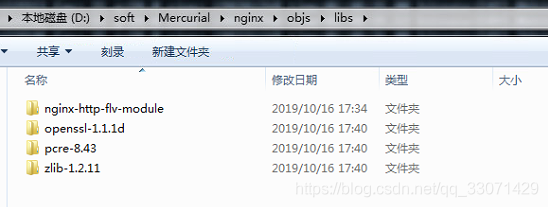
使用MSYS工具,在nginx源代码分别创建objs/lib文件夹,将下载好的nginx-http-flv-module、openssl、pcre、zlib分别解压在lib文件夹下面
4.、编译nginx-http-flv-module模块
1、生成makefile文件,用于c++编译器:
继续使用MSYS工具,返回到nginx源代码根目录,执行以下脚本:
auto/configure --with-cc=cl --builddir=objs --prefix= \ --conf-path=conf/nginx.conf --pid-path=logs/nginx.pid \ --http-log-path=logs/access.log --error-log-path=logs/error.log \ --sbin-path=nginx.exe --http-client-body-temp-path=temp/client_body_temp \ --http-proxy-temp-path=temp/proxy_temp \ --http-fastcgi-temp-path=temp/fastcgi_temp \ --http-scgi-temp-path=temp/scgi_temp \ --http-uwsgi-temp-path=temp/uwsgi_temp \ --with-cc-opt=-DFD_SETSIZE=1024 --with-pcre=objs/lib/pcre-8.43 \ --with-zlib=objs/lib/zlib-1.2.11 --with-openssl=objs/lib/openssl-1.1.1d \ --with-select_module --with-http_ssl_module --add-module=objs/lib/nginx-http-flv-module成功后输出以下:

2、修改nginx\auto\lib\openssl\makefile.msvc文件:
将VC-WIN32改为VC-WIN64A,将ms\do_ms 改为ms\do_win64a
修改objs\Makefile文件:将“-WX”删除,否则nmake时会报错“nginx error:c2220:警告被视为错误 - 没有生成object文件”
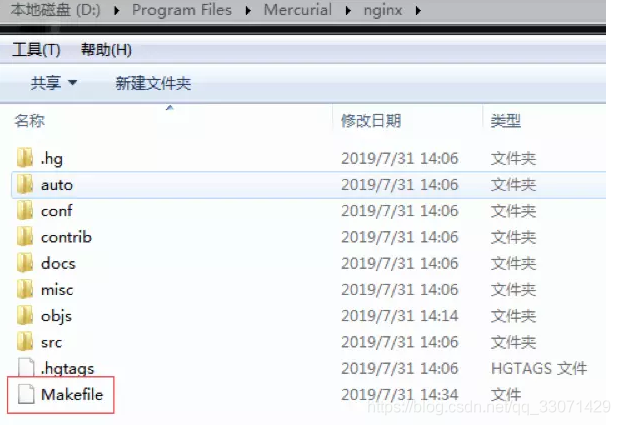
3、编译Nginx源码:
使用VS2010 x64 Win64命令工具,切换到Nginx根目录,执行以下命令:
nmake -f objs/Makefile
编译成功后,生成可执行程序nginx.exe
5、配置
1、在nginx.exe所在文件夹下创建创建conf,html,logs,temp目录,其中conf,html可从src中拷贝。
2、在html目录下创建nginx-http-flv-module文件夹,并将objs\lib\nginx-http-flv-module\下的test文件夹及stat.xsl拷贝过来。
3、修改conf/nginx.conf配置文件,修改后内容如下:
#user  nobody;
worker_processes  1;

#error_log  logs/error.log;
#error_log  logs/error.log  notice;
#error_log  logs/error.log  info;

#pid        logs/nginx.pid;


events {
    worker_connections  1024;
}


http {
    include       mime.types;
    default_type  application/octet-stream;

    #log_format  main  '$remote_addr - $remote_user [$time_local] "$request" '
    #                  '$status $body_bytes_sent "$http_referer" '
    #                  '"$http_user_agent" "$http_x_forwarded_for"';

    #access_log  logs/access.log  main;

    sendfile        on;
    #tcp_nopush     on;

    #keepalive_timeout  0;
    keepalive_timeout  65;

    #gzip  on;

    server {
        listen       80;

        location /flv {
            flv_live on;
            chunked_transfer_encoding on;
        }

        location /hls {
           types{
             application/vnd.apple.mpegurl m3u8;
             video/mp2t ts;
           }
        alias /test;
        expires -1;
        }

        location /stat {
            rtmp_stat all;
            rtmp_stat_stylesheet stat.xsl;
        }

        location /stat.xsl {
            root html/nginx-http-flv-module/;
        }

        location /control {
            rtmp_control all;
        }

        location /rtmp-publisher {
            root html/nginx-http-flv-module/test;
        }

        server_name  localhost;

        #charset koi8-r;

        #access_log  logs/host.access.log  main;

        location / {
            root html/nginx-http-flv-module/test/www;
            index  index.html index.htm;
        }

        #error_page  404              /404.html;

        # redirect server error pages to the static page /50x.html
        #
        error_page   500 502 503 504  /50x.html;
        location = /50x.html {
            root   html;
        }

        # proxy the PHP scripts to Apache listening on 127.0.0.1:80
        #
        #location ~ \.php$ {
        #    proxy_pass   http://127.0.0.1;
        #}

        # pass the PHP scripts to FastCGI server listening on 127.0.0.1:9000
        #
        #location ~ \.php$ {
        #    root           html;
        #    fastcgi_pass   127.0.0.1:9000;
        #    fastcgi_index  index.php;
        #    fastcgi_param  SCRIPT_FILENAME  /scripts$fastcgi_script_name;
        #    include        fastcgi_params;
        #}

        # deny access to .htaccess files, if Apache's document root
        # concurs with nginx's one
        #
        #location ~ /\.ht {
        #    deny  all;
        #}
    }


    # another virtual host using mix of IP-, name-, and port-based configuration
    #
    #server {
    #    listen       8000;
    #    listen       somename:8080;
    #    server_name  somename  alias  another.alias;

    #    location / {
    #        root   html;
    #        index  index.html index.htm;
    #    }
    #}


    # HTTPS server
    #
    #server {
    #    listen       443 ssl;
    #    server_name  localhost;

    #    ssl_certificate      cert.pem;
    #    ssl_certificate_key  cert.key;

    #    ssl_session_cache    shared:SSL:1m;
    #    ssl_session_timeout  5m;

    #    ssl_ciphers  HIGH:!aNULL:!MD5;
    #    ssl_prefer_server_ciphers  on;

    #    location / {
    #        root   html;
    #        index  index.html index.htm;
    #    }
    #}

}


rtmp {
    server {
        listen 1935;
        chunk_size 4000;

	application myapp {
            live on;
            gop_cache on; #打开GOP缓存,减少首屏等待时间
        }

        application hls {
            live on;
            hls on;
            hls_path /test;
            hls_fragment 1s;
        }
    }
}
4、启动nginx
运行nginx.exe
在浏览器中输入ip:port,显示如下:
在浏览器中输入ip:port/status,现实如下监控信息:
6、推流:
1、安装 ffmpeg(安装教程:https://www.jianshu.com/p/ddafe46827b7)
2、使用 ffmpeg 推流,推流命令如下:
ffmpeg -rtsp_transport tcp -re -i "rtsp://admin:jszx123456@ip:port/cam/realmonitor?channel=1&subtype=0" -acodec libfaac -vcodec libx264 -vf drawtext="fontfile=arial.ttf:x=w-tw:fontcolor=white:fontsize=30:text='HELLO %{localtime\:%H\\\:%M\\\:%S}'" -f flv rtmp://127.0.0.1:1935/myapp/url我这边的需求是从大华摄像头读取流并推送,命令 drawtext="fontfile=arial.ttf:x=w-tw:fontcolor=white:fontsize=30:text='HELLO %{localtime\:%H\\\:%M\\\:%S}'" 是在摄像头右上方增加描述和时间。
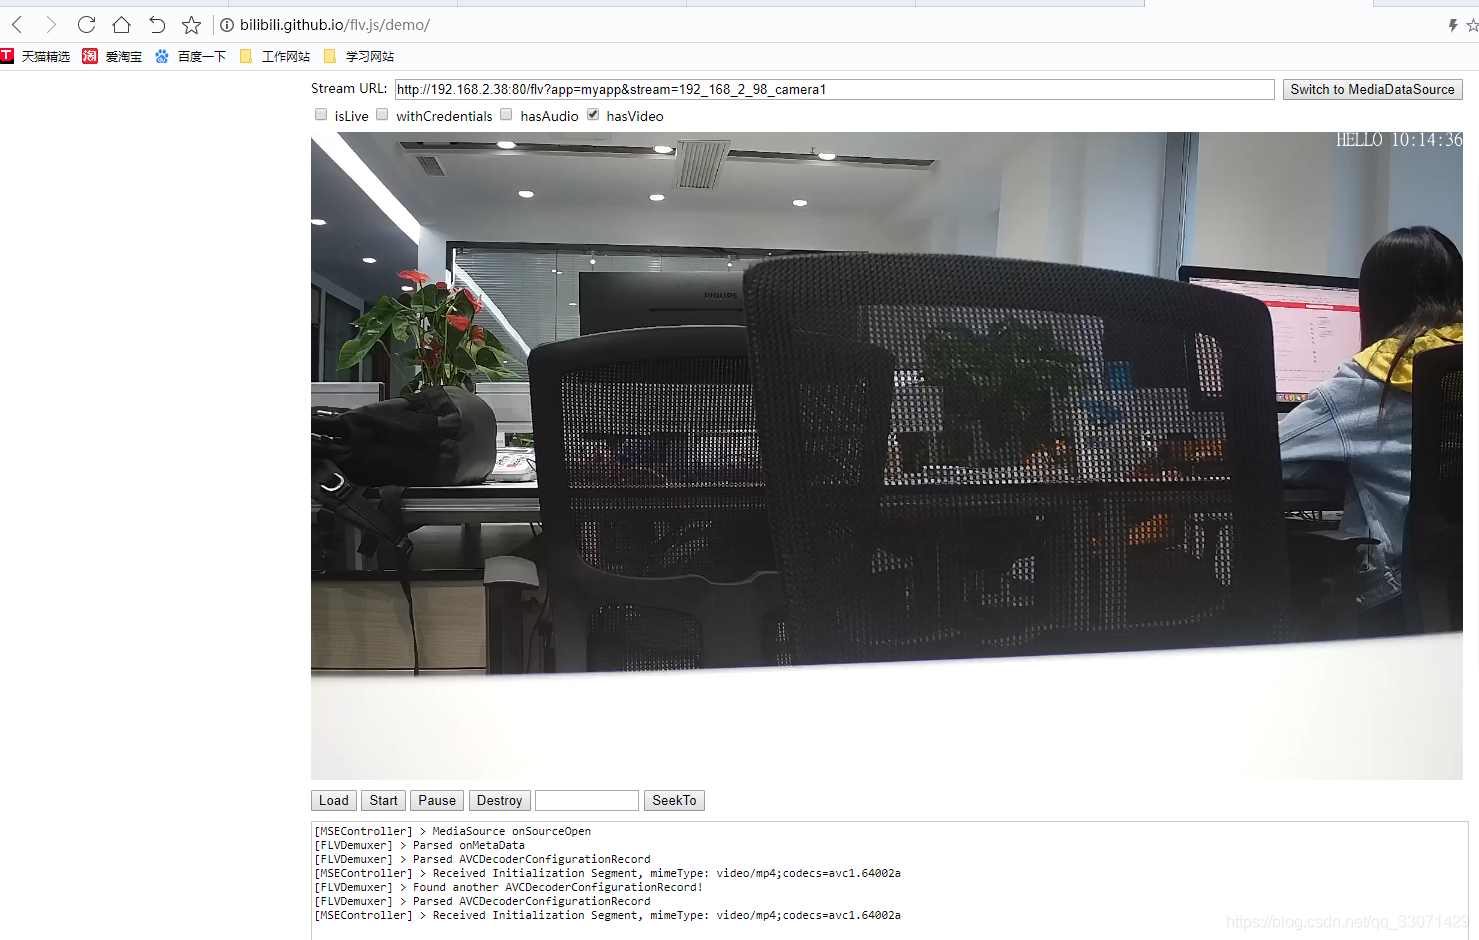
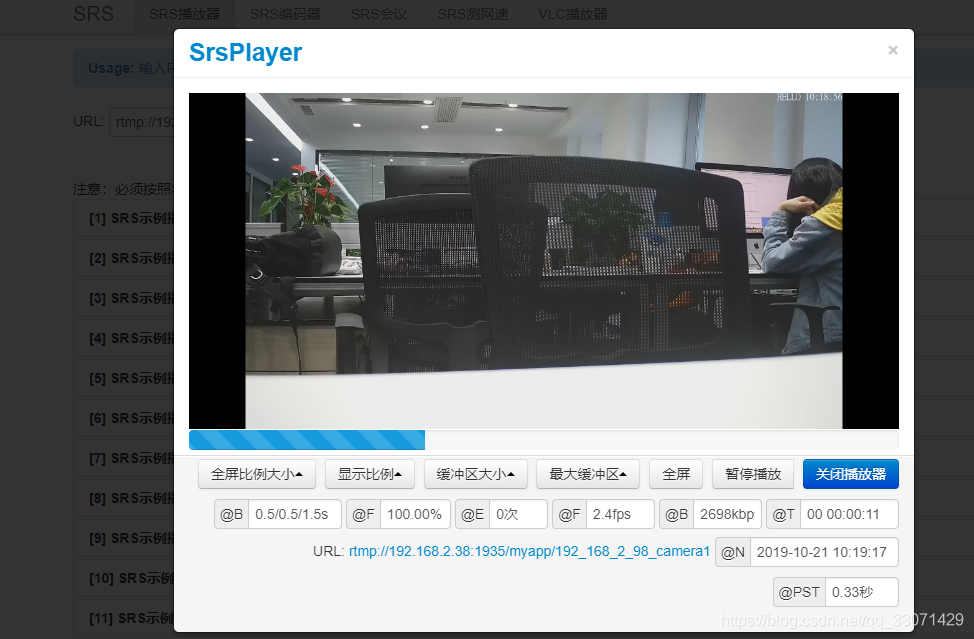
3、拉取流:
FLV:http://127.0.0.1:80/flv?app=myapp&stream=url
RTMP:rtmp://127.0.0.1:1935/myapp/url
示例
FLV 拉流
RTMP拉流
至此,使用nginx 搭建.flv 流媒体服务器已经完成了。
参考资料链接:
https://www.jianshu.com/p/a429c87c1b04
https://github.com/winshining/nginx-http-flv-module


 1820
1820


 被折叠的 条评论
为什么被折叠?
被折叠的 条评论
为什么被折叠?
 到【灌水乐园】发言


