1.WEB端拉流
【参考】ZLMediaKit播放规则:https://github.com/ZLMediaKit/ZLMediaKit/wiki/%E6%92%AD%E6%94%BEurl%E8%A7%84%E5%88%99
因为目前flash已经被弃用,同时我们也期望用一套方案适配PC、android和iOS端的拉流。因此我们选择通过H5的方案进行拉流播放。
系列五中我们利用设备做了RTMP推流,根据播放规则,我们获取到相应拉流地址flv地址:http://10.0.0.53:8098/live/1234.flv
2.RTMP流转http-flv
windows10下编译nginx 带nginx-http-flv-module:
Windows下nginx-http-flv-module编译:
在windows 7 64位 环境下使用nginx的nginx-http-flv-module搭建flv视频流播放(全过程)
3.开始编译
3.1 编译工具
1.openssl
2.perl
3.zlib
4.sed
5.visual studio 2017
6.nasm(可选)
7.pcre
8.msys2
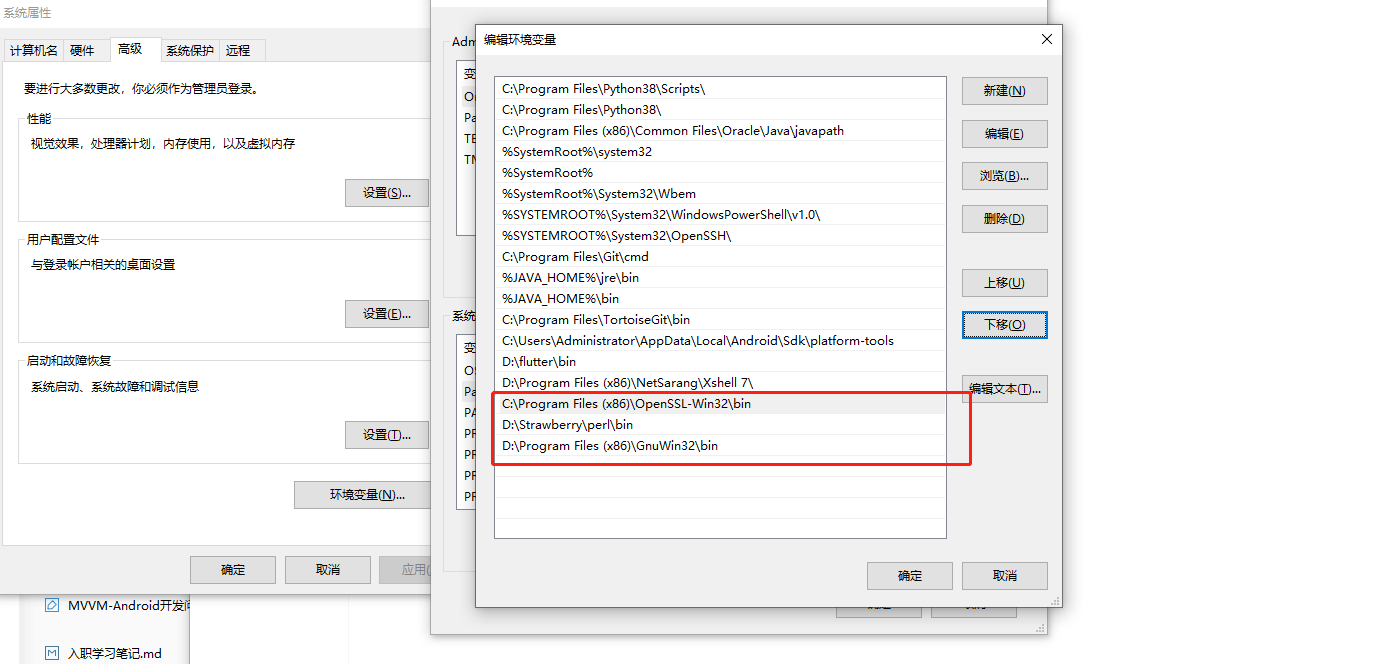
3.2 配置工具环境变量(openssl、perl、sed)
将openssl、perl和sed环境配置到系统环境变量中,配置完成后需要重启。
3.3 编译
编译环境:Windows 10 64位
2.下载 nginx-http-flv-module:https://github.com/winshining/nginx-http-flv-module
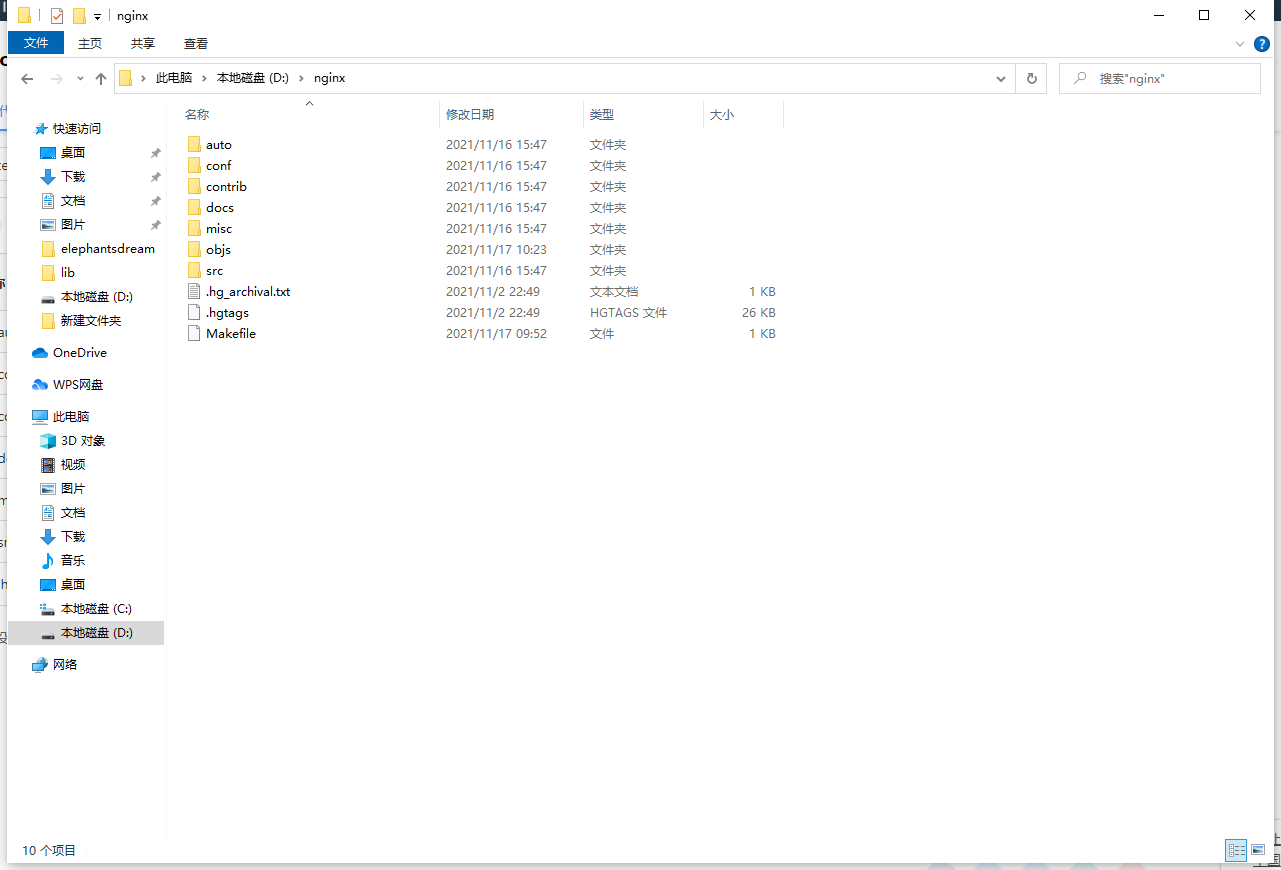
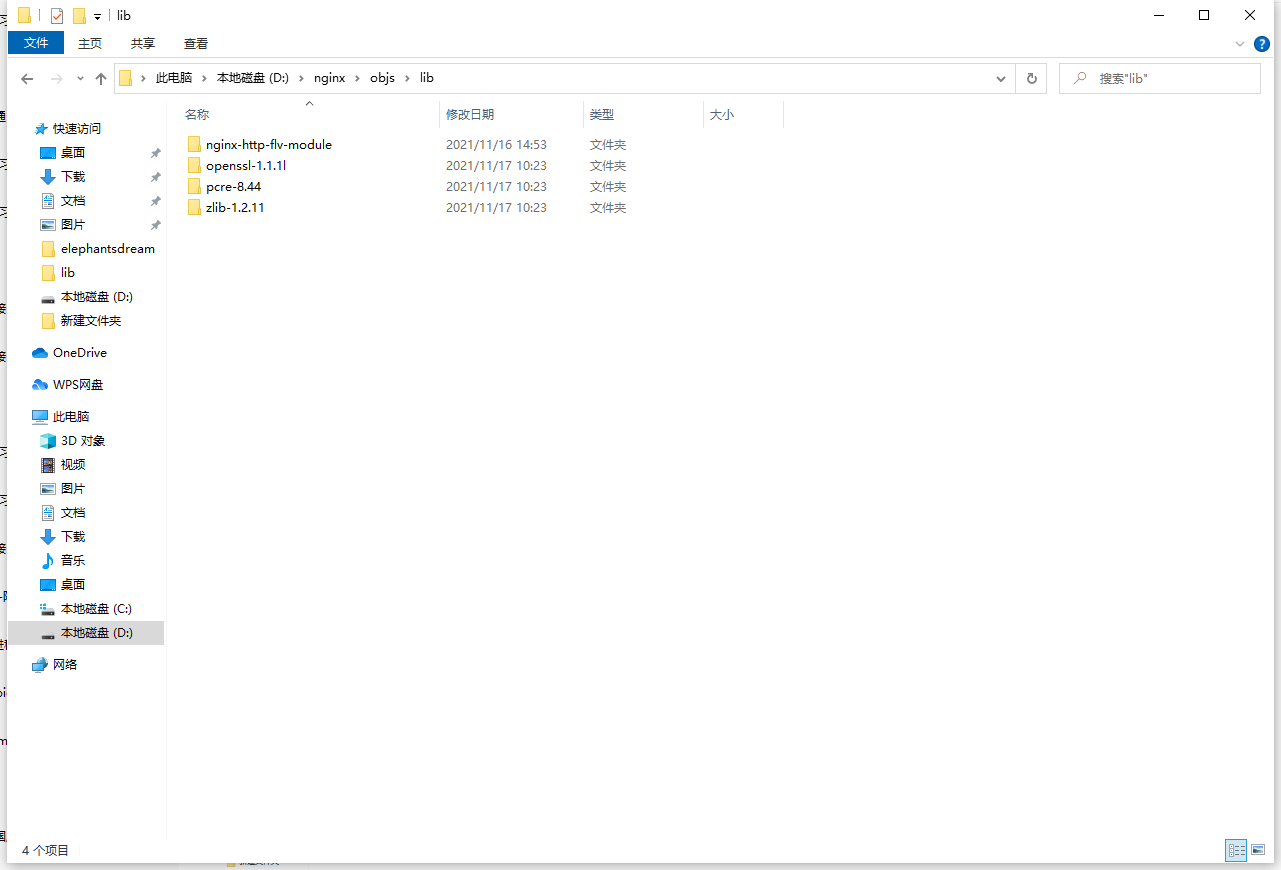
3.将nginx源码解压到D盘,内部建文件夹命名objs,objs内新建文件夹lib
4.将nginx-http-flv-module、openssl、zlib、pcre拷贝进去
5.文件夹结构:
6.打开MSYS,定位到d:/nginx文件夹,输入:

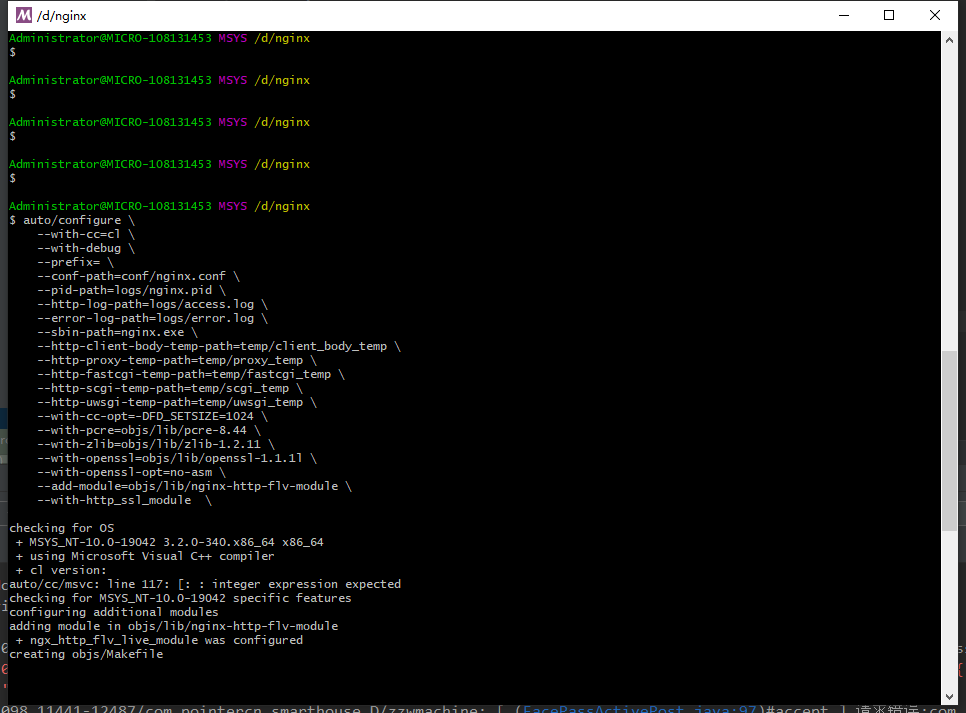
可能会遇到以下报错:
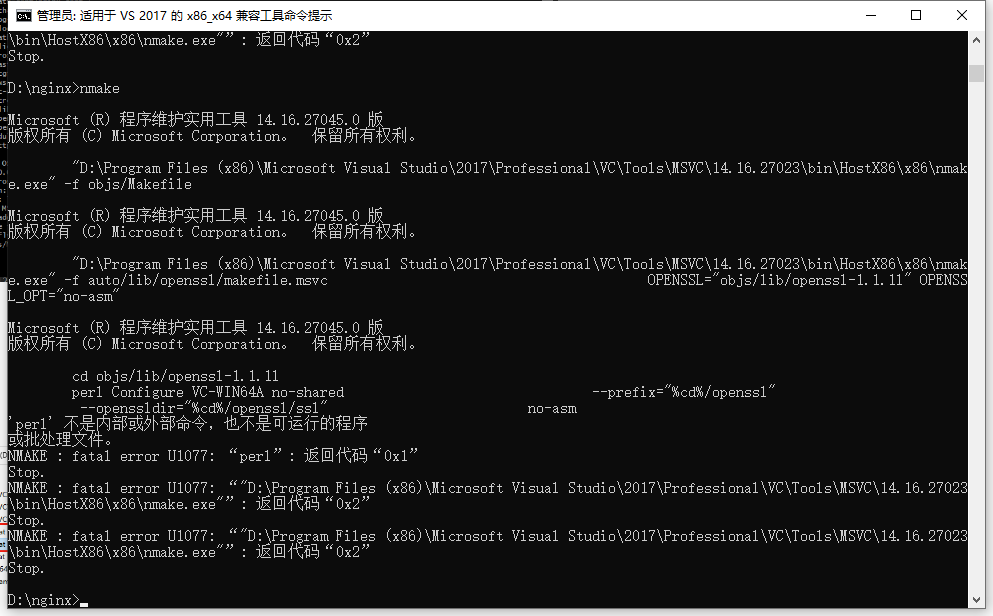
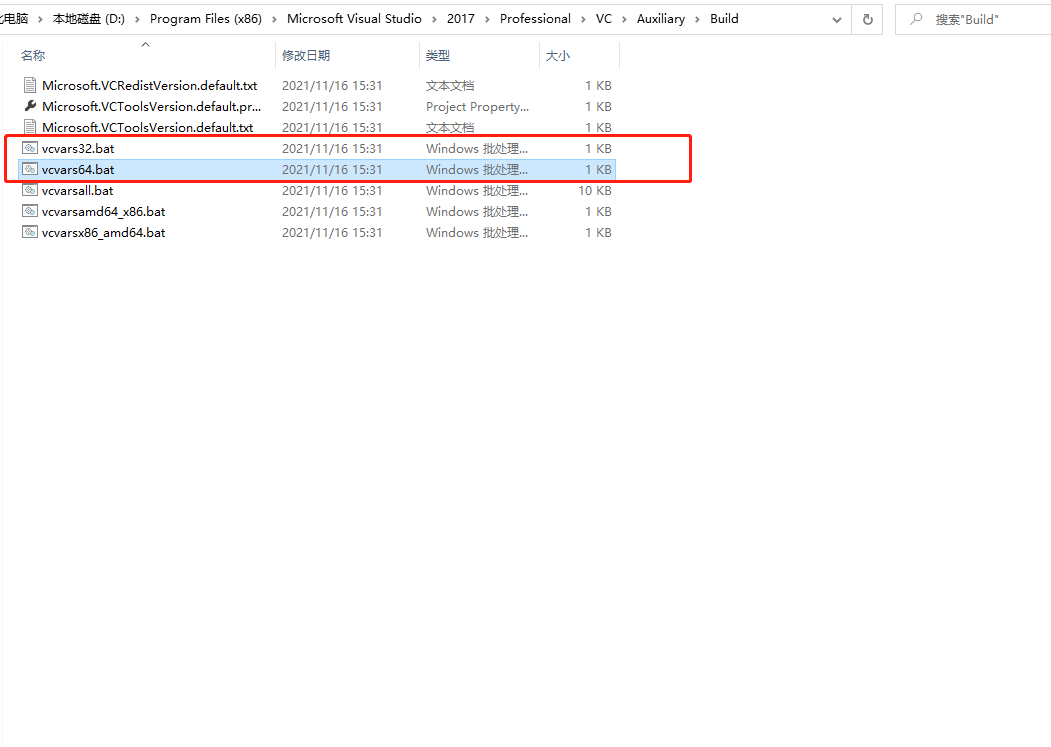
此时打开VS2017安装目录,双击以下两个bat,系统会自动VS环境变量。
如果不行,检查一下3.2中的几个环境变量是否成功配置,然后重试步骤6。
此步骤完成后,objs文件夹下会生成编译文件Makefile。
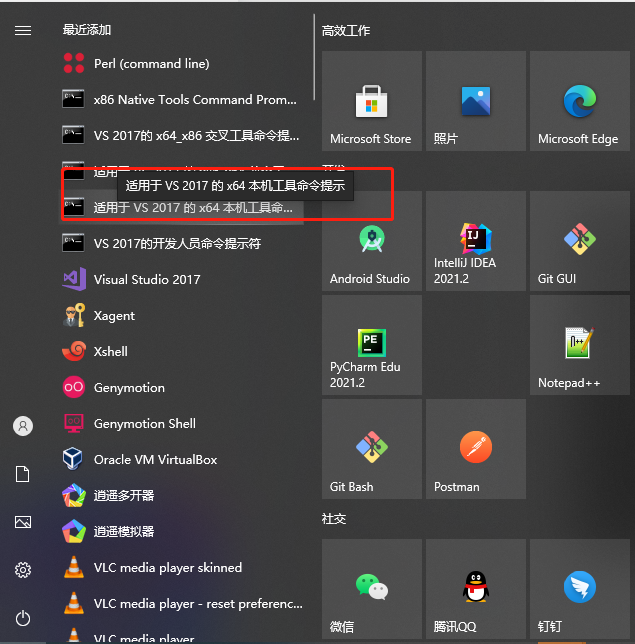
7.打开适用于2017的x64本机工具命令提示,以管理员方式运行
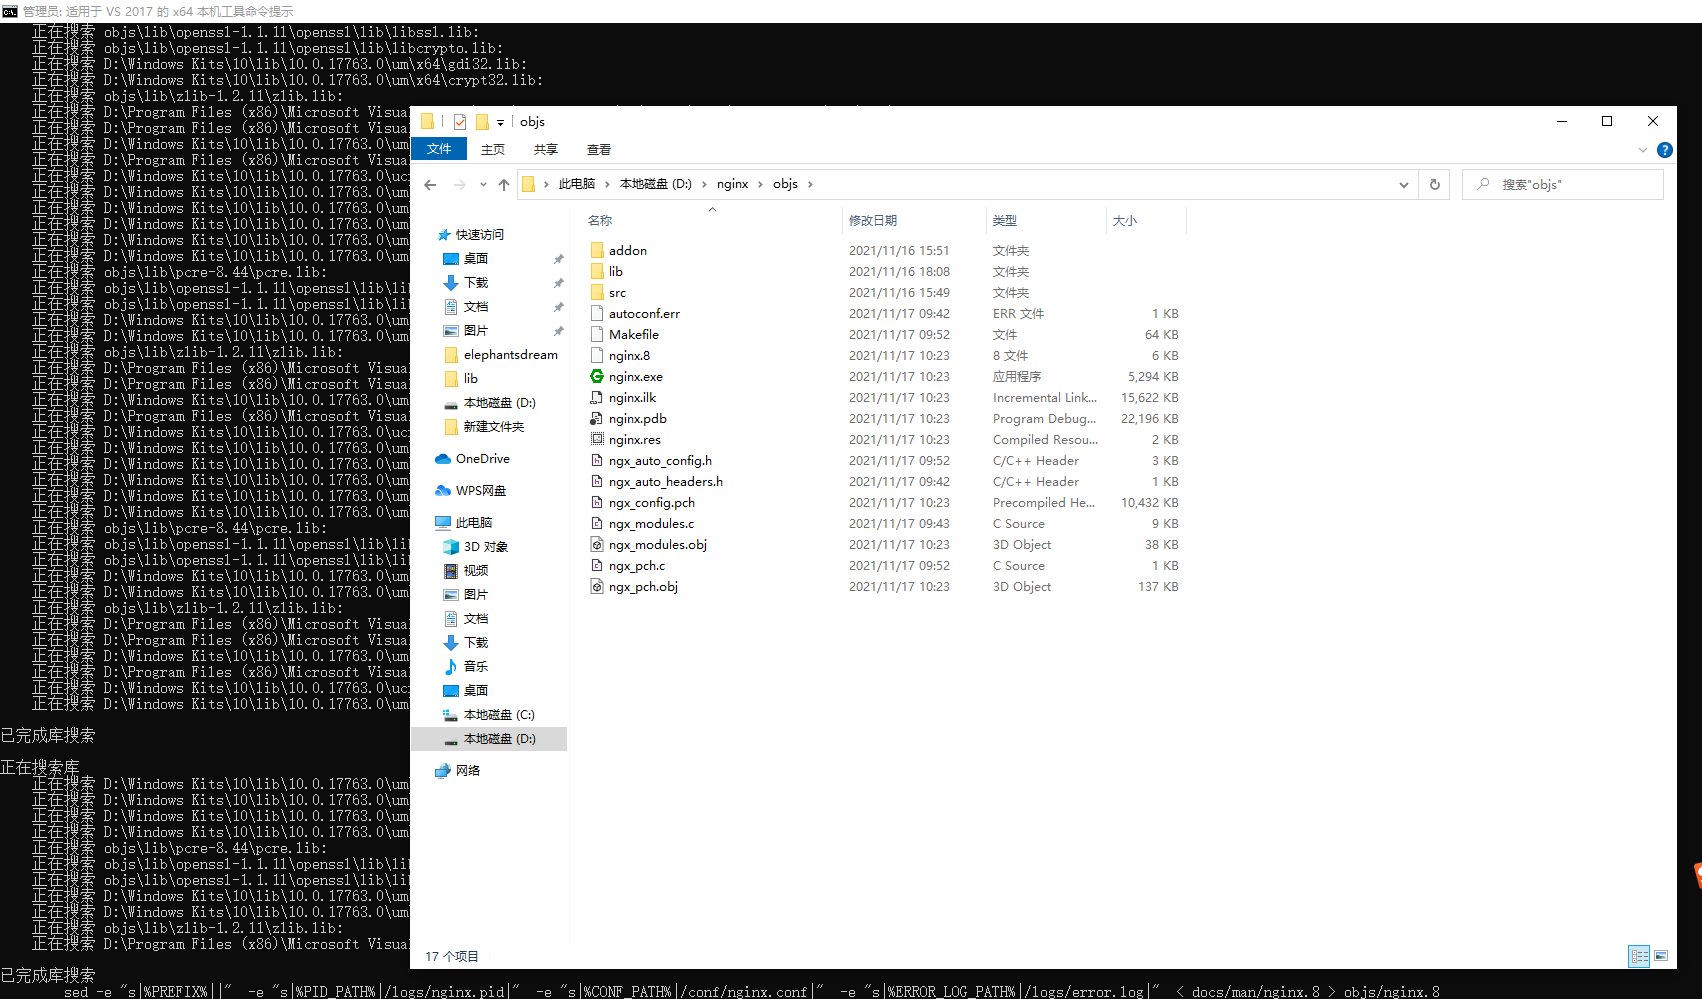
8.定位到d:/nginx,输入:nmake -f objs/Makefile,等待编译完成。
修改config/nginx.config:
worker_processes 1; #error_log logs/error.log; #error_log logs/error.log notice; #error_log logs/error.log info; #error_log logs/error.log debug; #pid logs/nginx.pid; events { worker_connections 1024; } # 添加RTMP服务 rtmp { server { listen 1935; # 监听端口 chunk_size 4000; application live { live on; gop_cache on; } } } # HTTP服务 http { include mime.types; default_type application/octet-stream; #access_log logs/access.log main; server { listen 8080; # 监听端口 location /stat.xsl { root html; } location /stat { rtmp_stat all; rtmp_stat_stylesheet stat.xsl; } location / { root html; } } }
编译完成后,nginx文件夹下将会生成nginx.exe,至此编译结束。
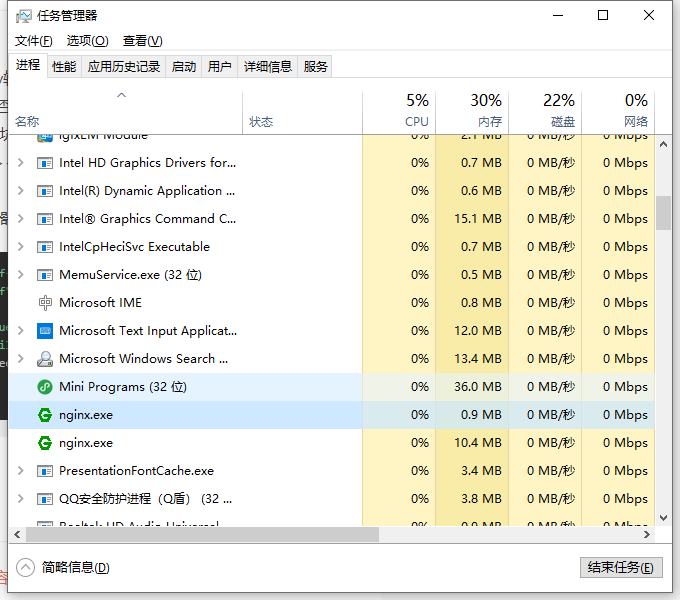
9.双击nginx.exe启动nginx服务。
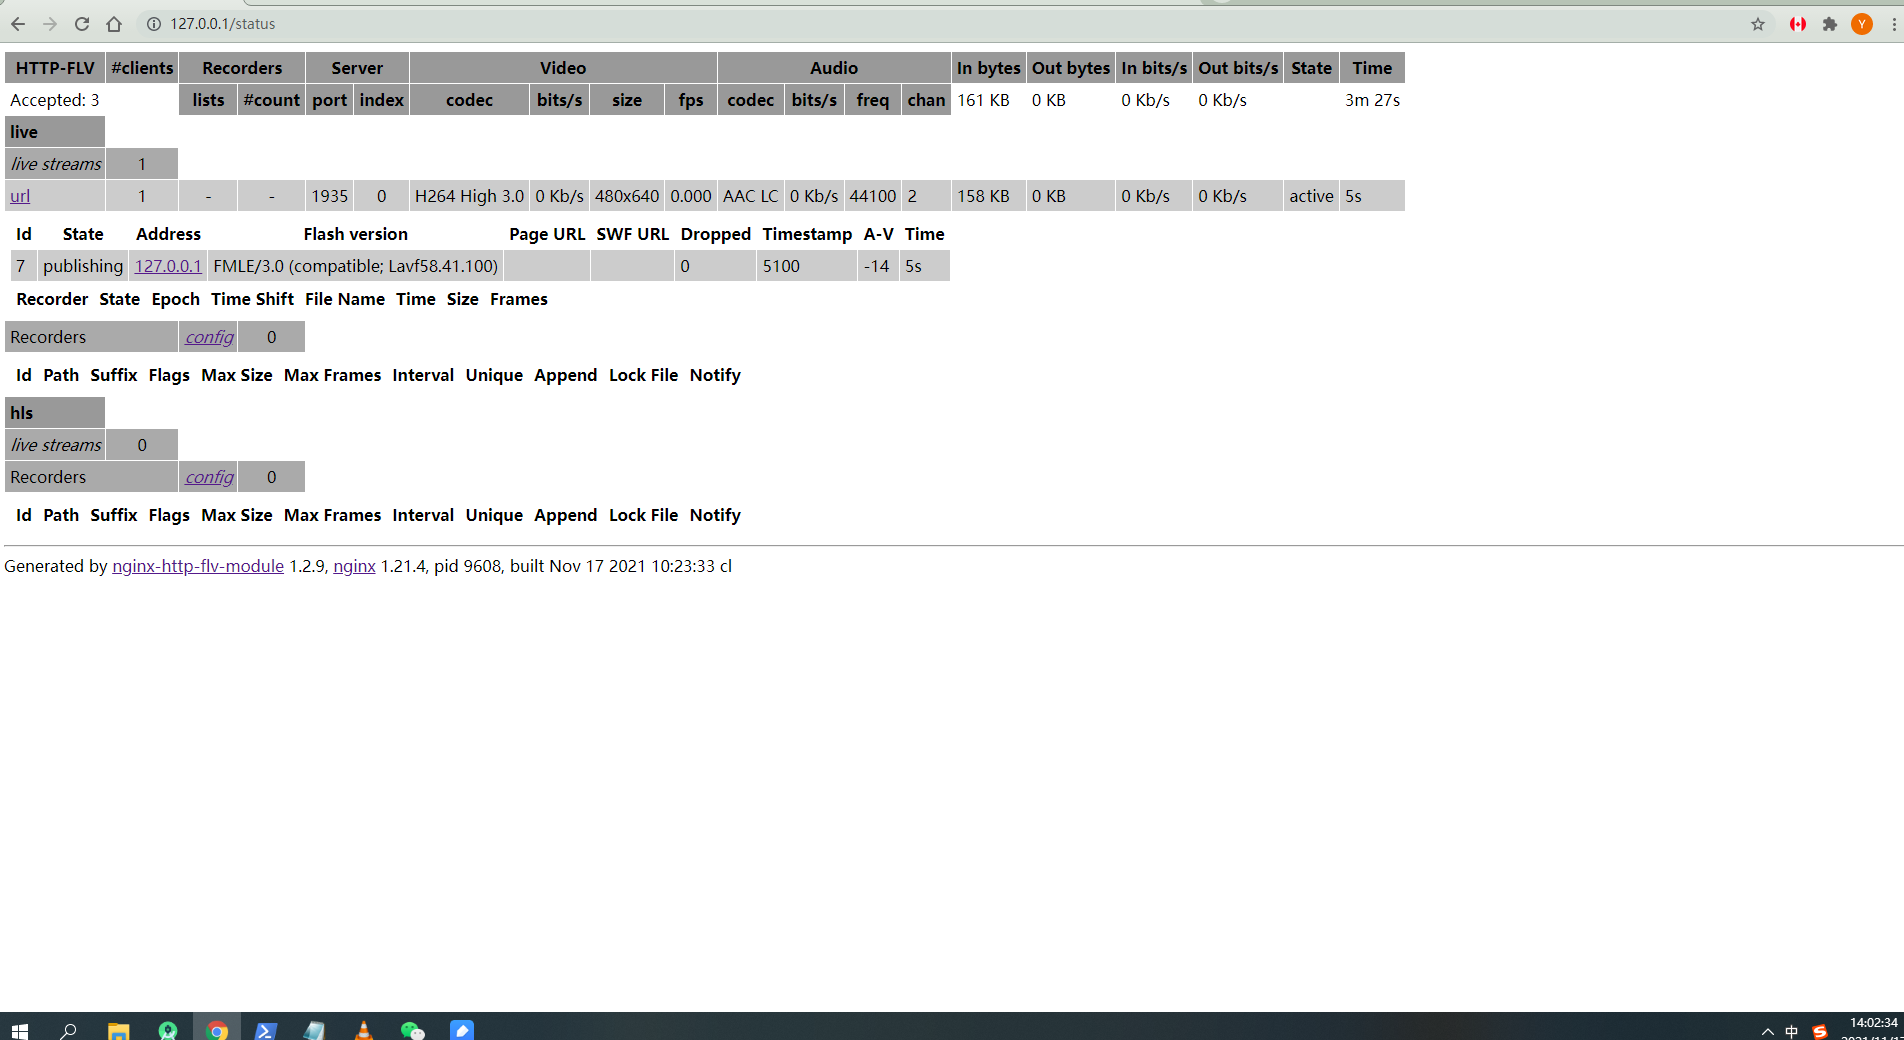
浏览器输入:127.0.0.1/status,查看流状态
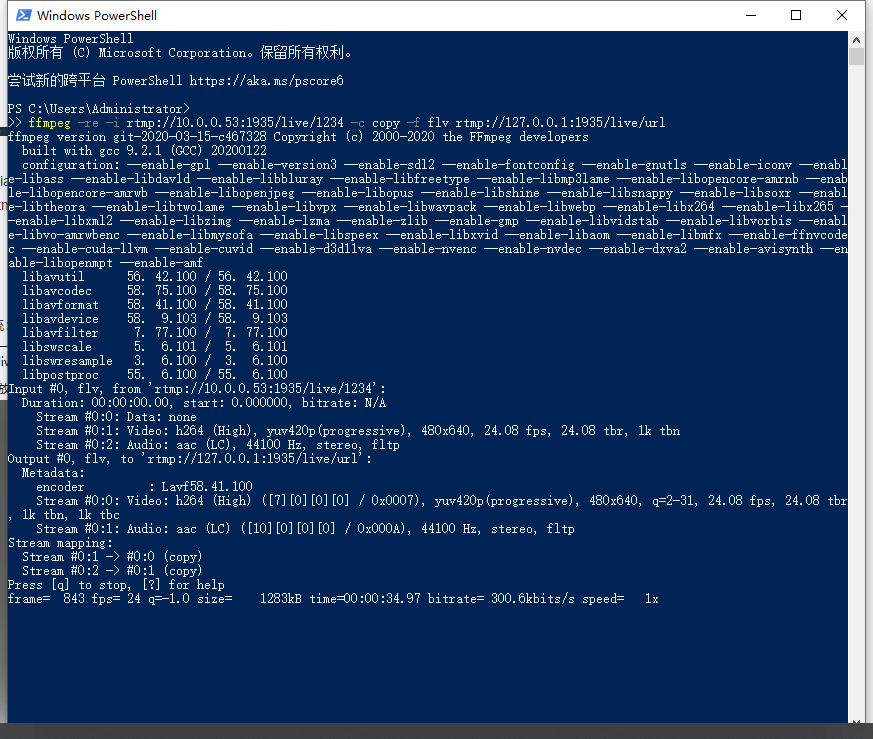
10. 启动zlmediakit server并开始推流,以管理员方式运行windows powershell输入rtmp推流指令:
ffmpeg -re -i rtmp://10.0.0.53:1935/live/1234 -c copy -f flv rtmp://127.0.0.1:1935/live/url
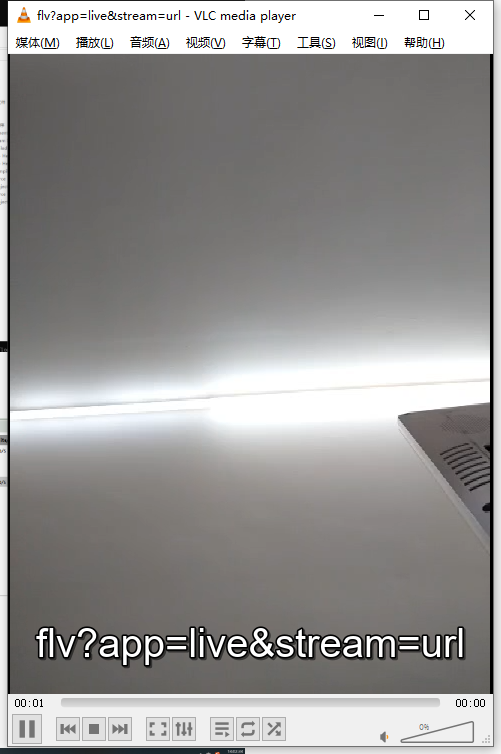
VLC播放打开串流流:http://127.0.0.1:80/flv?app=live&stream=url 如下:
声明:本站所有文章,如无特殊说明或标注,均为本站原创发布。任何个人或组织,在未征得本站同意时,禁止复制、盗用、采集、发布本站内容到任何网站、书籍等各类媒体平台。如若本站内容侵犯了原著者的合法权益,可联系我们进行处理。


